Prepare Tech Pack for Manufacturer
Every fashion brand has that one moment.
When your idea feels so real you can almost touch the fabric…
…but the fear hits: “What if the manufacturer misunderstands my design?”
One wrong detail — and your perfect vision becomes a costly mistake.
This is why the tech pack exists.
It protects your dream before it reaches the factory floor.
What Exactly Is a Tech Pack?
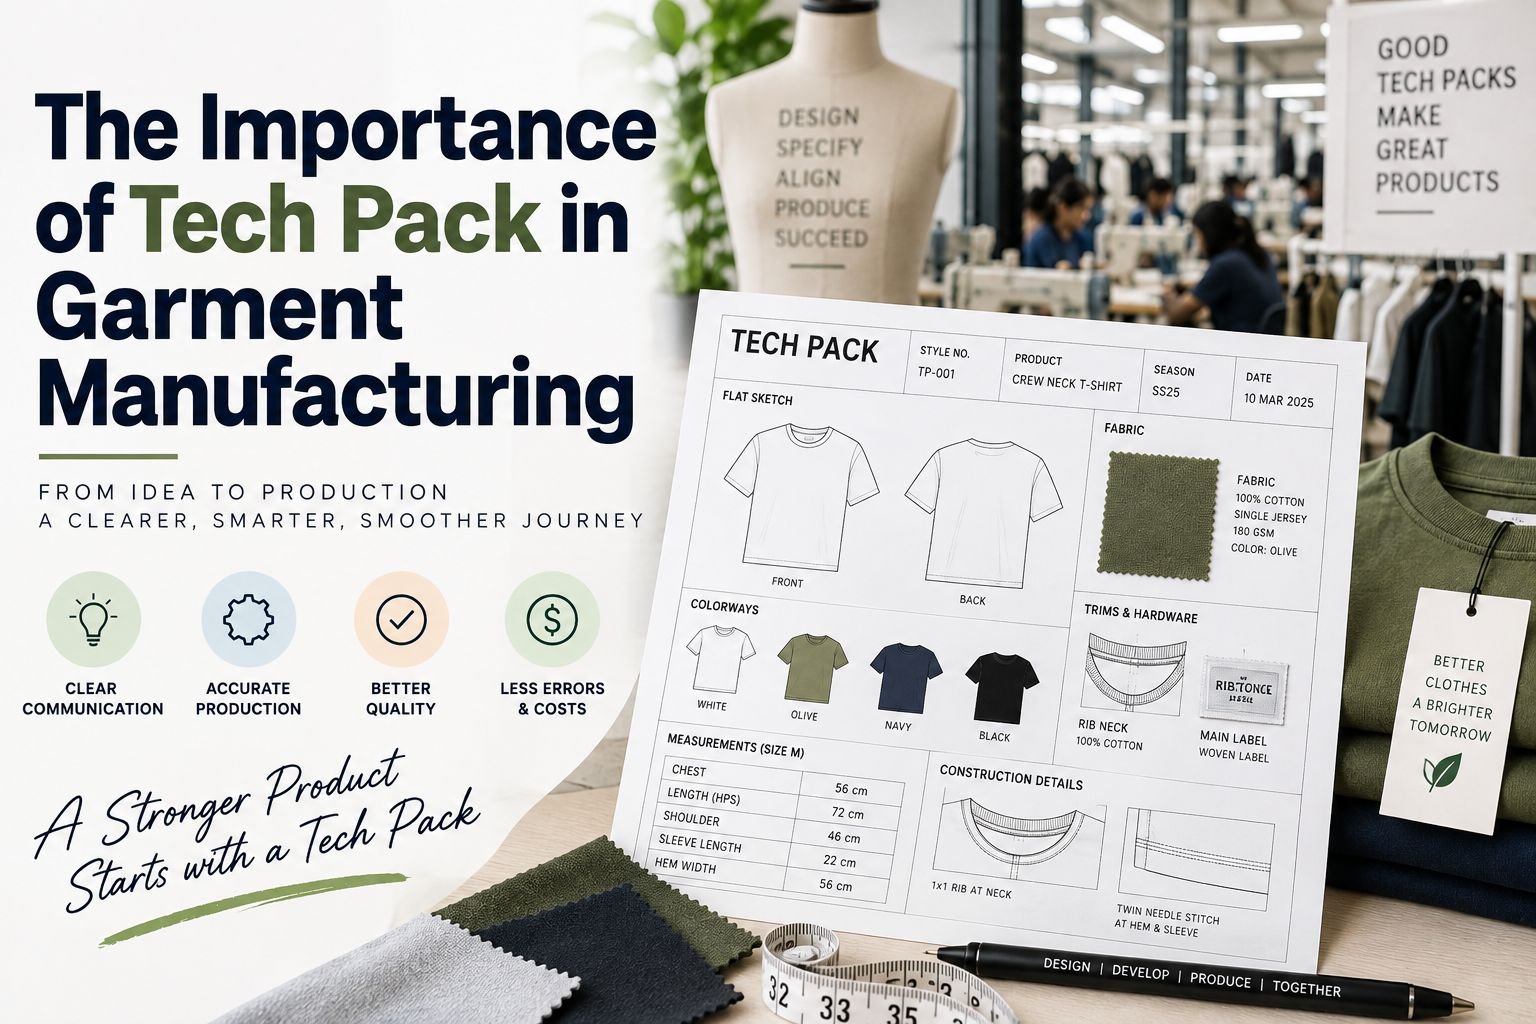
A tech pack is a blueprint of your garment.
Think of it as the Google Maps for manufacturers — it tells them exactly what to make, how to make it, and what final result you expect.
It includes:
- Measurements
- Construction details
- Fabric + trims
- Colors
- Artwork/prints
- Labeling and packaging
- Bill of Materials (BOM)
- Stitching details
- Wash care
- Quality standards
…and more, depending on the product.
Without a tech pack, you’re basically asking the manufacturer to “guess your design.”
Why Tech Packs Matter: The Real-World Impact
1. Protects You From Costly Errors
Factories often produce hundreds of pieces at once.
If something goes wrong — wrong sleeve, wrong fit, wrong print size — you lose money, time, and trust.
2. Faster Sampling & Production
A precise tech pack reduces back-and-forth messages by 70–80%.
Factories know what to do from day one.
3. Helps You Negotiate Better
Manufacturers quote prices based on clarity.
Clear tech pack = transparent costing = better deals.
4. Builds Professional Credibility
Factories instantly take you seriously.
You look like a brand that knows its craft.
How to Prepare a Tech Pack for Your Manufacturer
Below is the simplest, most beginner-friendly process — the same method professional brands follow.
STEP 1 — Start With a Clear Design Sketch
You don’t need to be a professional illustrator.
A clean, digital sketch or even a well-aligned hand sketch scanned as PDF is enough.
What to include:
- Front view
- Back view
- Side view (if needed)
- Zoom-ins for important elements (pockets, pleats, neckline)
Pro tip:
Use apps like Adobe Illustrator, Procreate, or free tools like Canva to make clean line sketches.
Real-world example:
Brands in Europe and Australia often submit rough sketches and rely on tech pack experts to convert them into precise flats.
This is common and accepted — clarity matters more than artistic skill.
STEP 2 — Add Accurate Measurements
Measurements decide the final fit.
Even a 1 cm difference can change the silhouette.
What to include:
- Chest/bust
- Waist
- Hip
- Length
- Sleeve length
- Armhole
- Shoulder
- any detail specific to your garment (rise for pants, sweep for skirts, etc.)
Important:
Always add tolerance (usually ±0.5–1 cm).
It tells the factory how much variation is allowed.
Example:
“Chest: 98 cm (Tolerance: ±1 cm)”
Global insight:
US brands usually add a detailed graded size chart (XS–3XL).
European brands often focus more on fit adjustments in sample stage.
Asian factories prefer CM/IN conversions for accuracy.
STEP 3 — Mention Fabrics & Trims Clearly
Manufacturers must know exactly what materials you expect.
What to include:
- Fabric type
- GSM/oz weight
- Fabric composition
- Fabric finish
- Stretch requirement
- Trims (zippers, buttons, elastic, lining, drawcords)
Example:
“100% Organic Cotton Jersey, 180 GSM, Enzyme washed.”
Tip:
Always attach fabric reference images or physical swatches if possible.
STEP 4 — Add Construction Details
This is where you explain how the garment should be built.
Areas to specify:
- Stitch type (single needle, overlock, flatlock)
- Seam type
- Neckline construction
- Pocket construction
- Hem finishing
- Elastic insertion details
- Placket construction
- Lining attachment
Beginner-friendly explanation:
Factories don’t guess “how something should look from the inside.”
Your tech pack tells them.
STEP 5 — Add Artwork, Prints & Embroidery Details
If your garment has branding or prints, this section is crucial.
Include:
- Artwork placement
- Artwork size
- Color codes (Pantone recommended)
- Print technique (DTF, screen print, puff, rubber, embroidery type)
Example:
“Front print: 14 cm width, Center chest placement. Pantone 185C. High-density print.”
POD creators:
This step is extremely important because factories replicate designs exactly.
STEP 6 — Add Colorways & Variants
If your garment comes in multiple colors, list them.
Example:
- Black – Pantone 19-4005
- Sand – Pantone 14-1112
- Olive – Pantone 18-0622
Adding color codes makes production precise and repeatable.
STEP 7 — Add Labeling, Branding & Packaging
Factories need clear branding guidelines.
Include:
- Main label
- Washcare label
- Neck print
- Hangtags
- Packaging
- Polybag size
- Barcode position
Global example:
US retailers like Target and H&M have strict labeling rules.
Following proper label placement reduces the chance of shipment rejection.
STEP 8 — Add Bill of Materials (BOM)
This is a detailed list of every material used in the garment.
Example BOM:
- Main fabric: Cotton jersey 180 GSM
- Rib: 1×1 cotton rib
- Thread: Polyester, 40/2
- Label: Woven, 100% polyester
- Packaging: 40 micron polybag
This section helps manufacturers estimate costing accurately.
STEP 9 — Add Fit Notes & Special Instructions
If you have a specific vision, mention it here.
Example notes:
- “Oversized fit.”
- “Boxy shoulders.”
- “Cropped length, not fitted.”
- “Soft handfeel required.”
Tip:
Your special instructions help the factory understand the vibe of the garment.
STEP 10 — Quality Checks & Final Requirements
To avoid receiving poor-quality samples, add:
- Stitch accuracy
- Fabric shrinkage limit
- Colorfastness requirement
- Print durability
- Final garment measurements after wash
This step ensures the manufacturer meets your standards.
The Final Tech Pack Should Include These Pages:
- Cover page
- Sketch page
- Measurement chart
- Construction details
- Fabric & trims sheet
- Colorways
- Artwork details
- BOM
- Labeling & packaging
- Quality requirements
- Sample comment sheet
This structure is the global standard followed by brands in the US, Europe, Australia, and India.
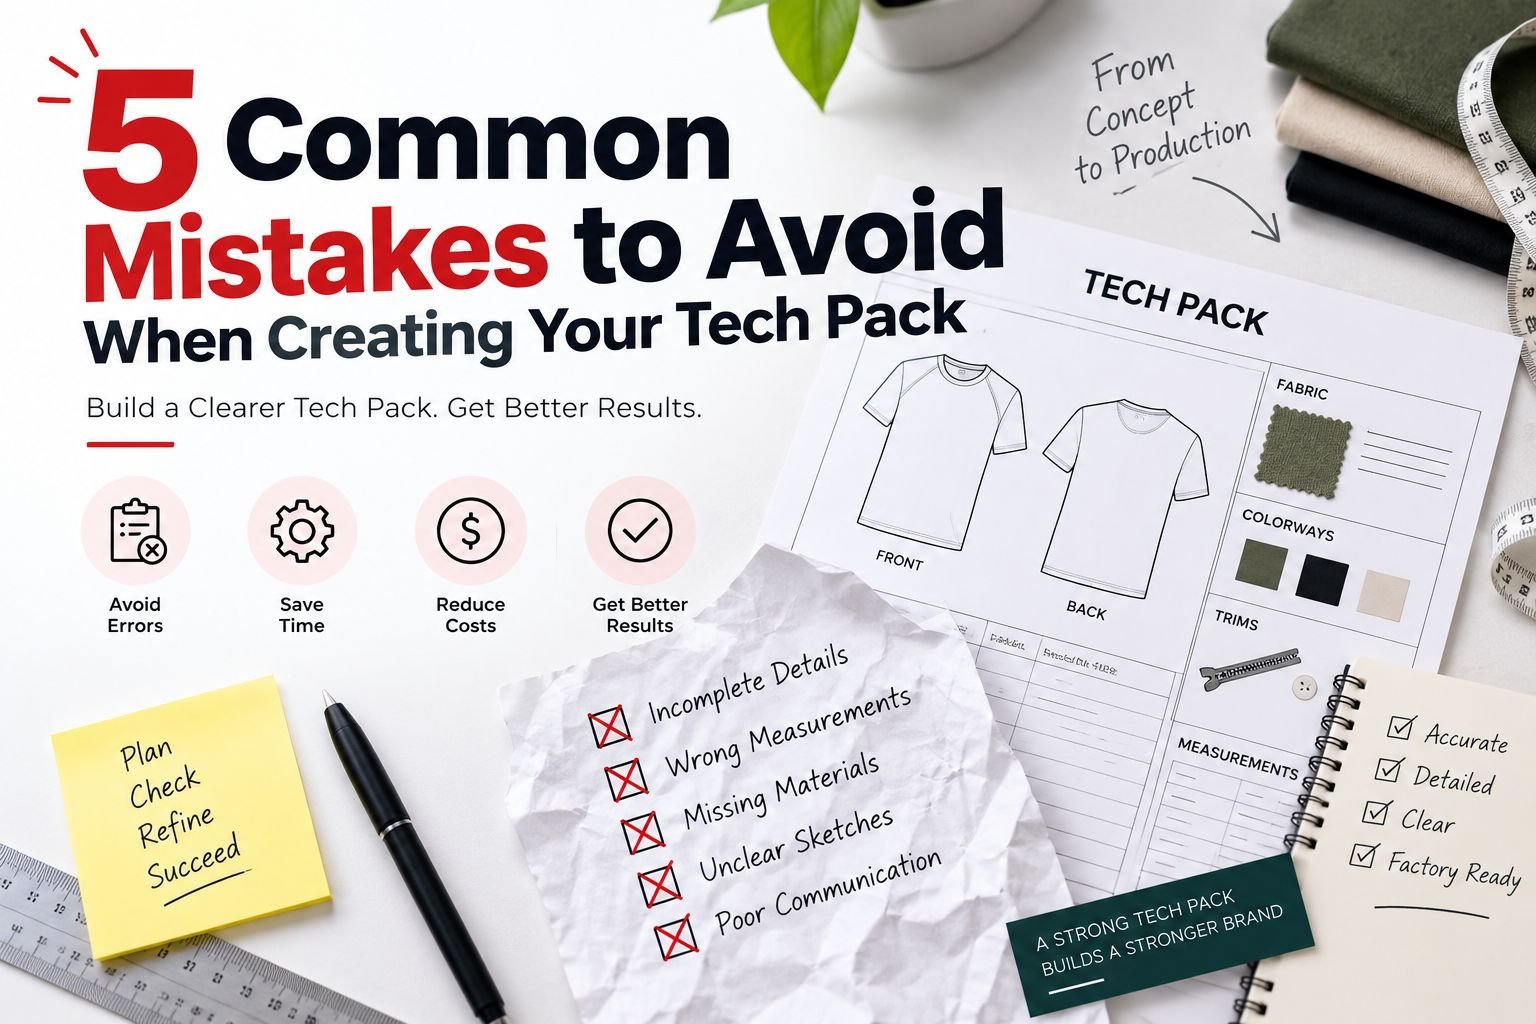
Beginner Mistakes to Avoid
❌ Mistake 1: No tolerances
Factories need tolerance to maintain consistency.
❌ Mistake 2: Vague instructions
“Make it oversized” is not enough.
Write specific measurements.
❌ Mistake 3: Using photos instead of technical sketches
Photos confuse manufacturers because they hide construction details.
❌ Mistake 4: Ignoring stitch details
This is how 70% of garment issues happen.
❌ Mistake 5: Not reviewing the tech pack before sending
A 5-minute review saves weeks of delays.
Real-Life Scenario: How Brands Save Money With Proper Tech Packs
Case Study: A US streetwear brand
They placed a bulk order for 2,000 hoodies.
The factory misunderstood the rib length — samples came too tight.
Bulk reproductions cost them $4,800 in rework and delays.
After shifting to a structured tech pack, their sampling accuracy increased to 98%, and bulk wastage reduced dramatically.
Tech packs literally protect your ROI.
Practical Tips to Get Your Tech Pack Right
Conclusion
Every fashion success story starts with one thing: clarity.
A solid tech pack gives your manufacturer confidence, accelerates production, protects your budget, and brings your creative vision to life exactly as imagined.
Whether you’re an emerging designer or a global clothing label — a well-made tech pack is not optional.
It’s the core of your business.
If you want your ideas to transform into perfect garments…
start with a perfect tech pack.
FAQs
1. Can I make a tech pack without technical knowledge?
Yes. Start simple. Many brands rely on experts (like Tech Pack Genius) to convert ideas into professional tech packs.
2. Do manufacturers accept hand-drawn sketches?
Yes, if they are clean and clear. But digital sketches are more accurate.
3. How long does it take to create a tech pack?
A professional tech pack usually takes 24–72 hours, depending on complexity.
4. Can I use photos instead of sketches?
You can include photos as reference, but you still need clean line sketches.
5. Do tech packs reduce sampling time?
Absolutely. Most brands see 60–80% faster sampling with clear tech packs.
6. Can I use the same tech pack for multiple factories?
Yes. That’s one of the biggest advantages — it standardizes communication.
7. What if I want to change something later?
Just update the tech pack version (V1 → V2 → V3).
Never send old versions to manufacturers.
Ready for Production?
Get a professional tech pack for your fashion design.
Table of Contents