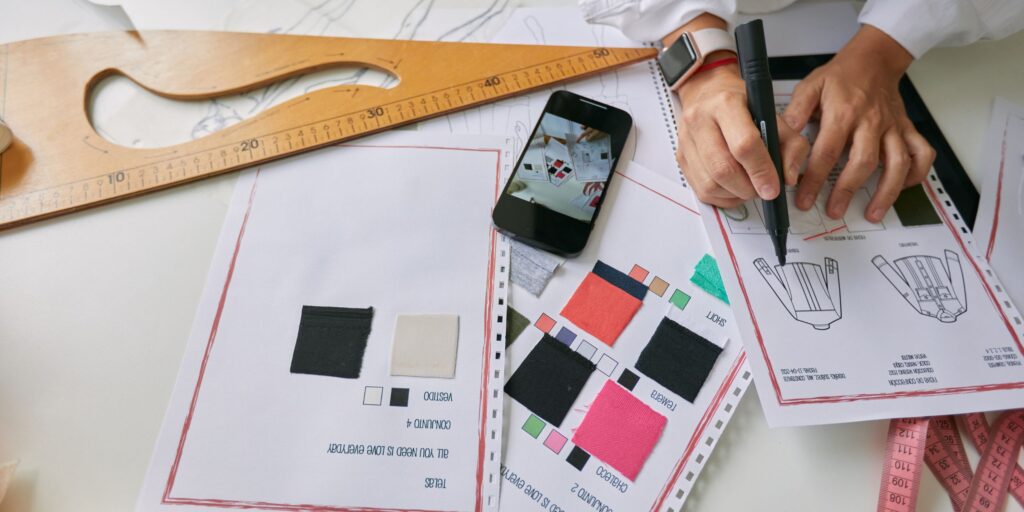
10 Essential Elements of a Professional Tech Pack in Fashion
When it comes to creating clothing or any fashion product, a tech pack is your best friend. Think of it as a road map that guides your manufacturer from your idea to the finished product—without missteps, misunderstandings, or costly do-overs.
Whether you’re a solo designer or part of a big fashion house, a solid tech pack makes sure everyone is on the same page (literally). Here are the 10 key elements every professional tech pack (tech pack elements) should have — and why they matter.

1. Design Sketches and Flat Drawings
Your tech pack starts with a clear visual. These aren’t just pretty design sketches — they’re technical drawings (called “flats”) that show your garment from every angle: front, back, and sometimes side.
They highlight important details like seams, collars, buttons, or trims, so the manufacturer understands exactly what you want, right from the first sample.
2. Measurement Specs and Size Charts
Fit is everything. This section lists precise measurements for every part of your garment, along with a size chart for all variations.
Use Point of Measurement (POM) diagrams to show exactly where each measurement is taken—this ensures consistency whether the piece is a size XS or XXL.
3. Bill of Materials (BOM)
Your BOM is basically a shopping list for production. Every single material—fabrics, zippers, buttons, linings, labels—goes here, with details like type, color, composition, and even supplier info if needed.
The more specific you are, the less room there is for error (or last-minute surprises).
4. Fabric and Material Details
Don’t just say “cotton fabric”—be specific. Include the fabric weight, fiber content, stretch factor, finish, and exact color codes (like Pantone numbers).
If possible, provide swatches or reference samples so the texture and color are spot-on.
5. Construction and Sewing Instructions
Here, you’re basically telling the manufacturer how to put it together. Include seam types, stitch styles, stitch length, and seam allowances. Mention special touches like bar tacks for reinforcement or contrasting topstitching for style.
6. Colorways and Artwork Placement
Got multiple colors or prints? This section makes sure each variation is crystal clear.
Also show where prints, embroidery, or logos should be placed, so the design is exactly where you want it on the garment.
7. Labels, Tags, and Packaging
This is more than just branding — it’s part of your product’s identity. Include details for care labels, hang tags, and branded trims.
Also tell your manufacturer how to package the item — flat fold or hanger, polybag or box — so it arrives ready for your customers.
8. Sample Size and Prototype Guidelines
Always specify the size you want your first sample made in. Include fit notes, tolerance allowances, and any must-follow instructions. This prototype stage is where you catch potential errors before mass production.
9. Technical Notes and Callouts
Sometimes sketches aren’t enough. Use callouts (little note boxes) to point out tricky or unique features. This can include special fasteners, hidden pockets, or custom hardware.
10. Version Control and Identification
Every tech pack should be dated, labeled with a style number, and marked with a version number. As your design evolves, this avoids mix-ups and ensures everyone’s looking at the latest version.
In Short…
A professional tech pack isn’t just paperwork — it’s your safety net. It saves time, prevents expensive misunderstandings, and protects your creative vision from sketch to store.
If you put love and detail into your tech pack, your manufacturer can put the same care into bringing your ideas to life.
